A Beginner’s Guide to Post-Processing
Last night a friend asked if I could recommend some post-processing software. She’s been taking great photos with the Sony NEX-5 and was curious about my workflow. So I thought I’d go above-and-beyond merely recommending software, and explaining abit about post-processing in general.
What is post-processing?
Post-processing is the process by which a photograph gets treated after the shutter has fallen. In the good old days, it used to be applying tints in the darkroom, dodging (darkening) and burning (lightening) by masking and exposing parts of the image on light sensitive film, and using cotton swabs to brush on chemicals to achieve various effects with a photograph. It allows as little or as much creative input to be added after a photo is taken. Of course, it is never a substitute for getting it “right” in camera, but adds a whole realm of possibilities not achievable through the lens alone.
These days we have a plethora of image editing programs (both free and paid) that gives a photographer the same level of flexibility with more ease and accessibility?
Should I post-process?
Some photographers swear by post-processing and edit every single photograph they take. While I don’t disagree with this approach, for me the additional labour takes the joy out of every image. With every click, I’d be thinking – “Oh no…. another image to post-process”. Over the years, I’ve gotten pretty good of getting what I need straight out of camera. The ability to visualise and execute is key to a photographer’s toolkit. For my travel photographs, I only post-process the key shots. The post processing treatment for these images is often pre-conceived, at the point of pressing the shutter! So it’s not editing for the sale of editing.
A typical workflow
These are the typical things I do for my images. I say “typical” because every image is unique so there isn’t a blanket rule that will apply to all images. Sometimes it simply takes a little experimentation and imagination! All of the techniques below can be done at a generic (image) level or localised (small area) level with a brush.
Cropping
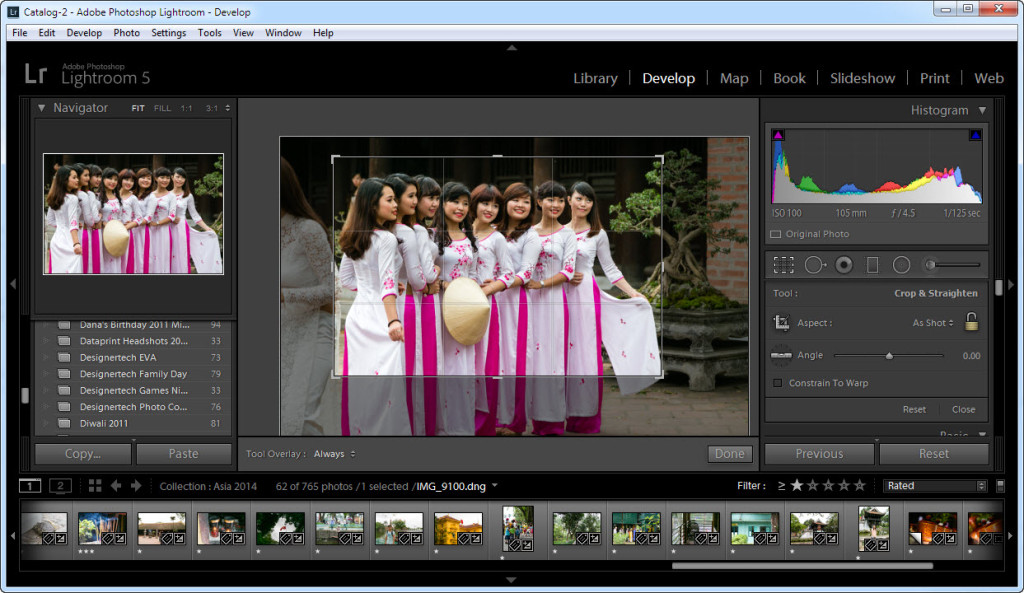
this is almost the first thing I do with any photo. Cropping into part of a photograph or even reducing the bigger picture slightly can cut out distracting elements and bring the subject in closer. Here is an example of a stronger image produced as a result of cropping. A useful tip is to press SHIFT while cropping so that the original aspect ratio is maintained. This is important if you shoot in the default 4:3 ratio and would like to print your photos (maybe not now, but at a later stage!). I like to keep the cropping consistent across a set of images so they look like part of the same set!
Exposure adjustments
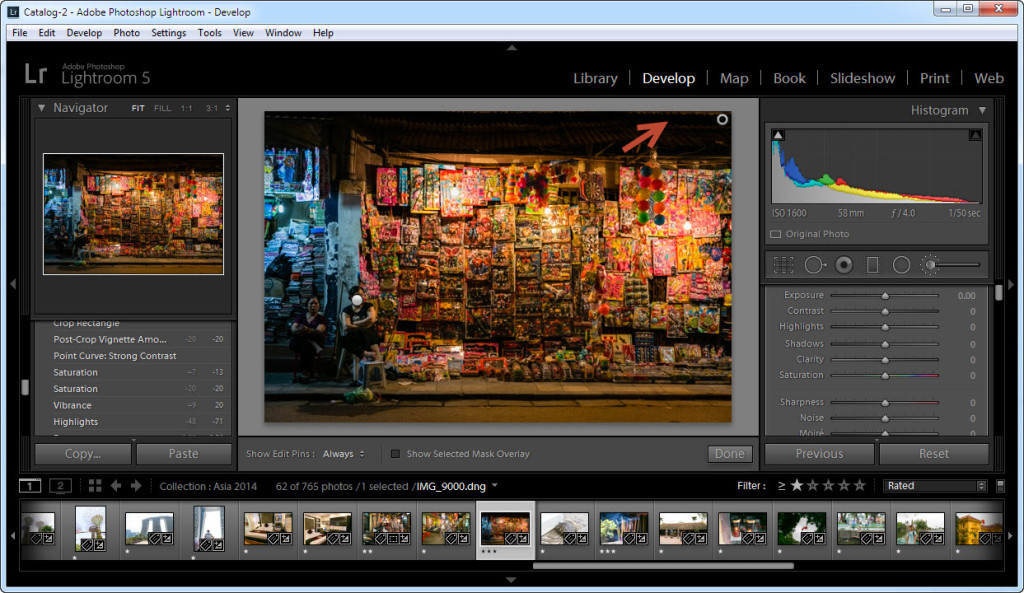
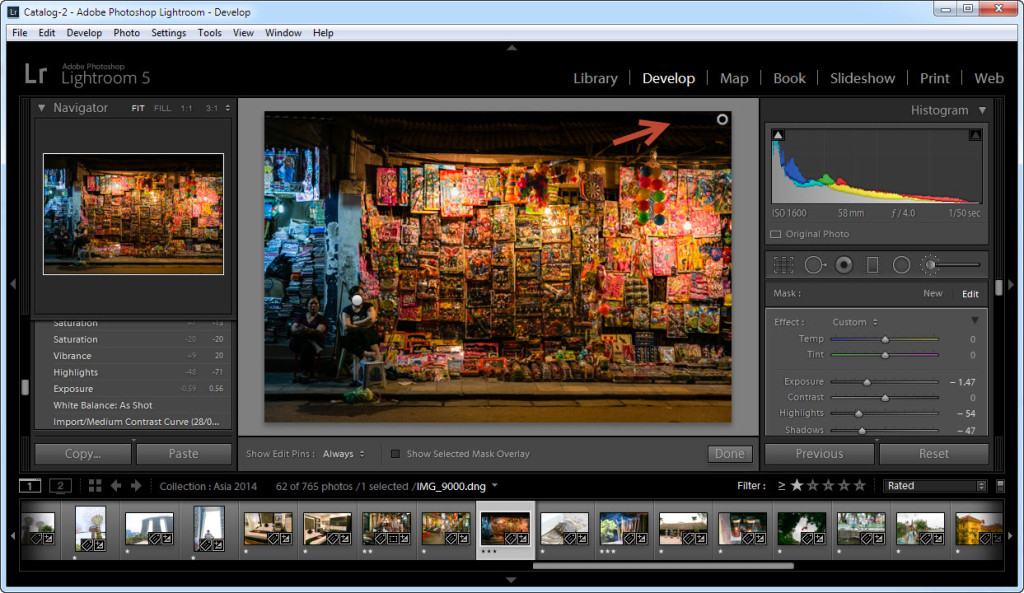
While lightening or darkening a photo can compensate for over or under exposure, you can also completely change the mood of a photograph. You may also want to do this on a smaller scale on parts of the image. Darkening overly bright distractions will have a de-cluttering effect, allowing the viewer to focus on what’s important. Here is an example of darkening or “dodging” done effectively.
Vibrance
I like to boost the vibrance of the image slightly just to give it a bit more pop. I compensate for this by reducing the saturation slightly to keep the image looking natural.
Temperature adjustments
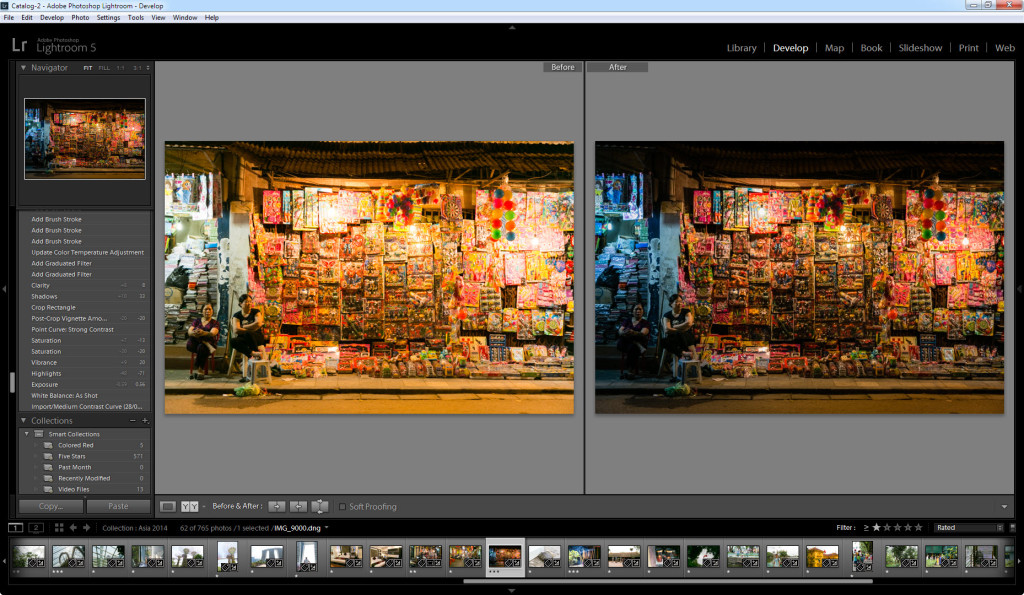
Sometimes the camera gets confused about the temperature of the light sources in the image. It’ll try to do its best by compensating for the main light source, but sometimes you just need that extra bit of control. In the dodging example above, you’ll notice that the left part of the image has cooler (bluer) lighting, whereas the right side has warmer (yellower) lighting. Using local adjustments, I was able to make the blue “bluer”. That and a combination of all the above techniques yields this before/after comparison. Quite something huh!
Software
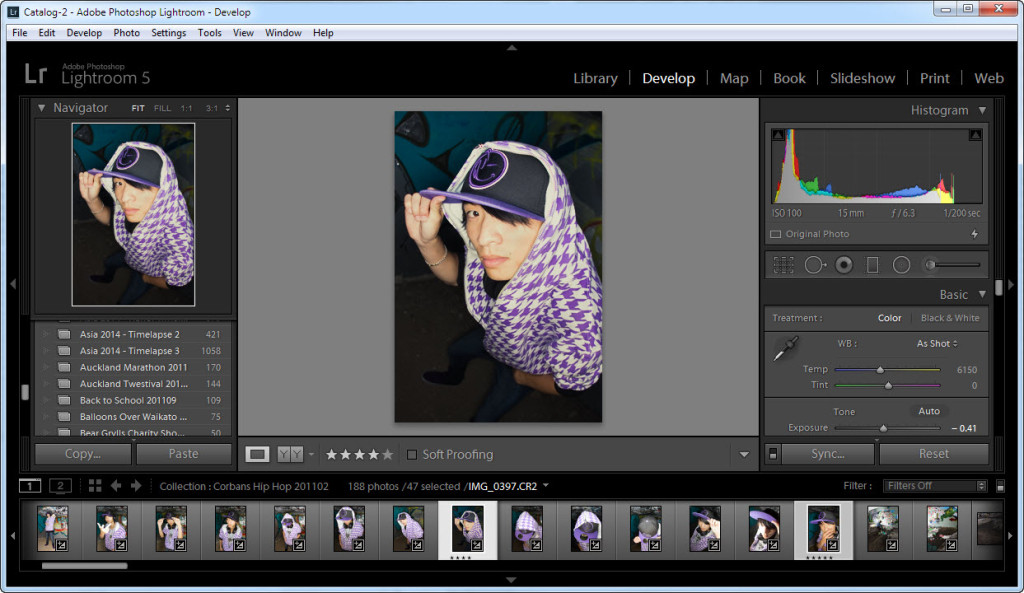
Here are a few options. My personal choice is Adobe Lightroom. A free trial is available. It is reasonably priced.
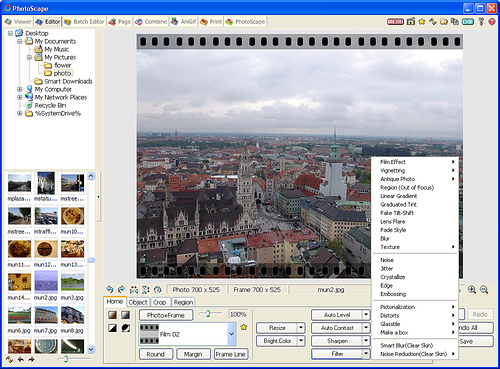
But if you prefer something cheaper (i.e. free), try Photoscape.
Have fun!
