 Portraits
Setting up a New Photo Studio
If you’re a part time photographer, setting up a dedicated studio space means you don’t need to set up and tear down every time you bring a client through.
This blog post describes my setup to achieve maximum results in a small space.
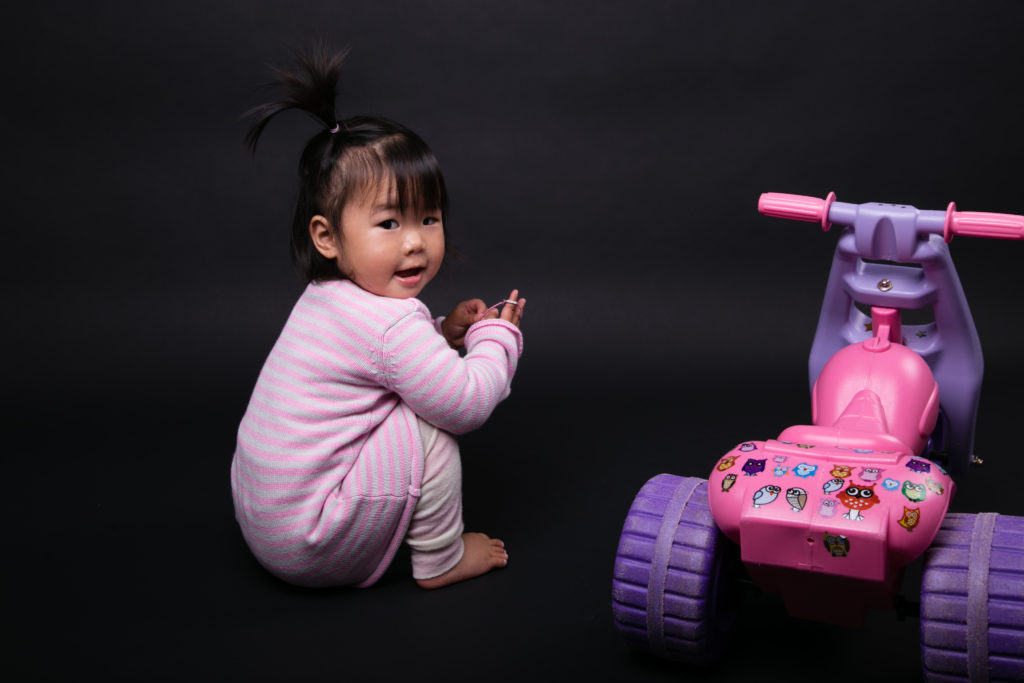
Studio lighting gives a photographer total control over how light falls on their subject. To ensure that light isn’t bouncing off every wall, a deep grey colour (Dulux Maraetai) was chosen for the walls.
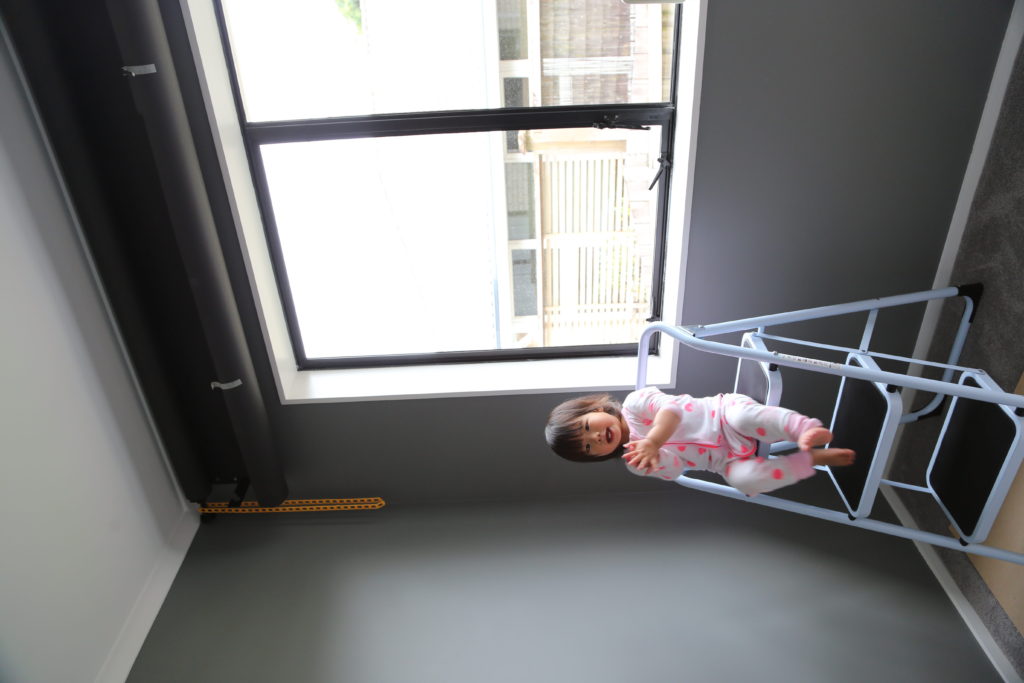
I installed a Meking 2 roller wall mounted backdrop system with 2 Savage seamless paper backdrop rolls, black and white. White backdrops are actually very versatile. With controlled studio lighting, you can make a white backdrop appear darker, most typically grey.
As a carpeted floor is too soft for standing on a paper backdrop (it will crease), I bought 2 pieces of MDF thinboard to line the floor below where the backdrop fell.
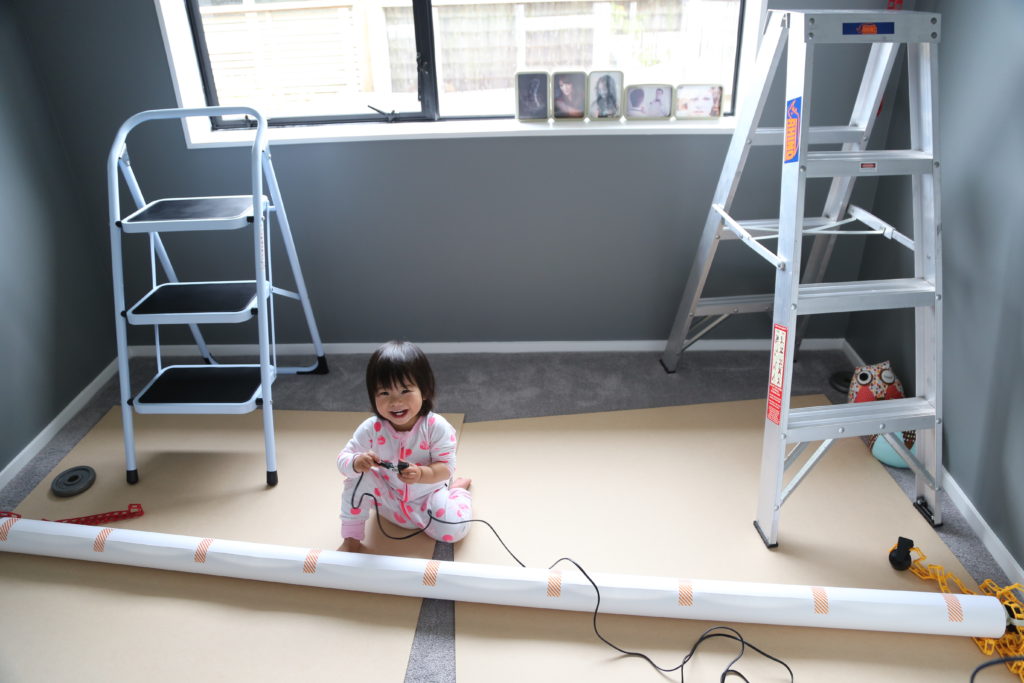
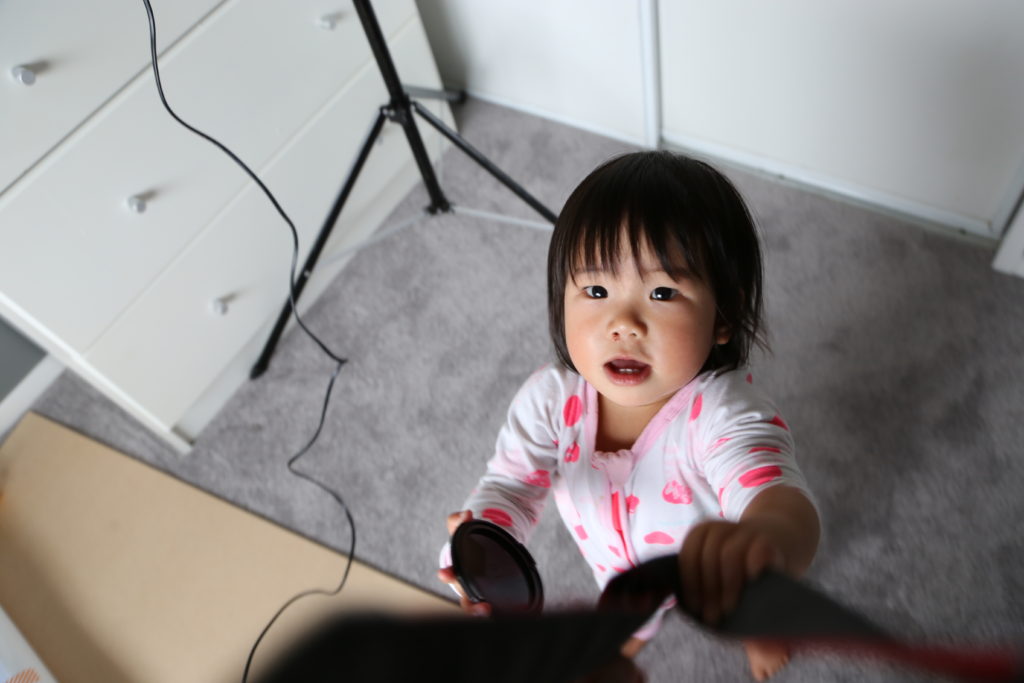
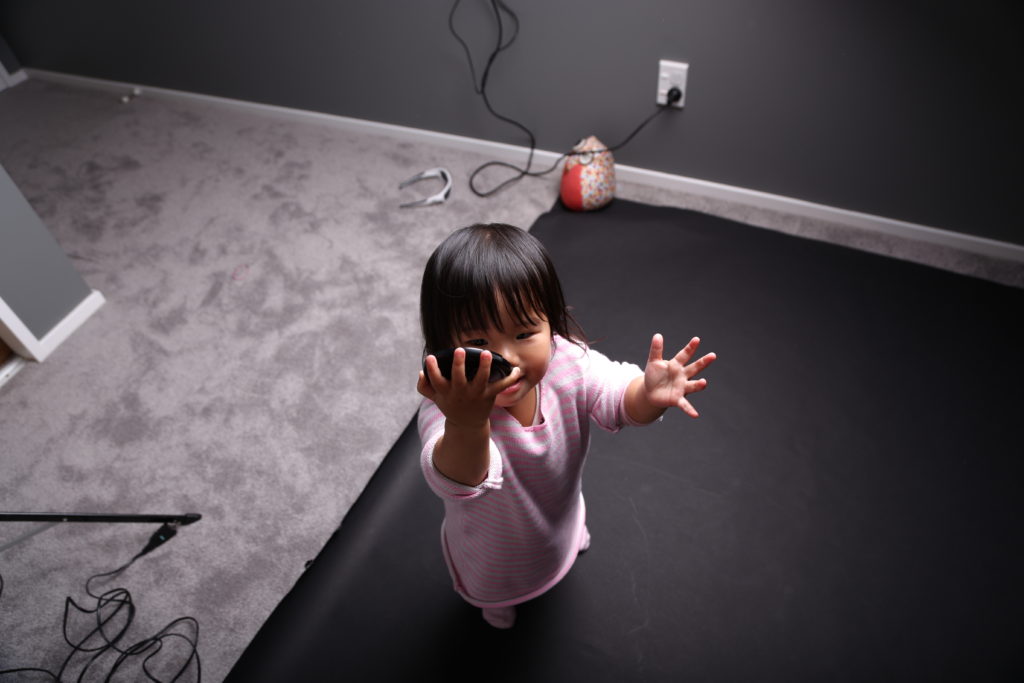
My little model Mikayla tugging at the camera straps – as you can see, the option of natural light is an attractive alternative.
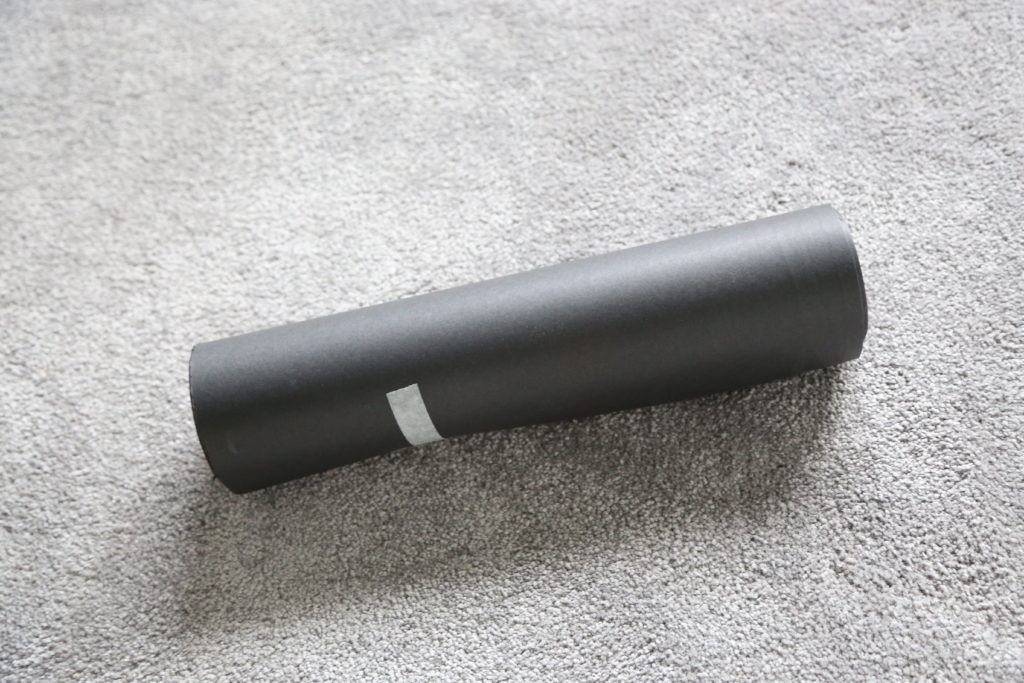
The backdrops had to be trimmed to 2.4m down from 2.7m. It’s an easy job with a hacksaw. Here’s how!
And here’s the hero in the room. I couldn’t afford for light stands to get in the way so up went an Interfit INT309 Wall Mounted Boom Arm.
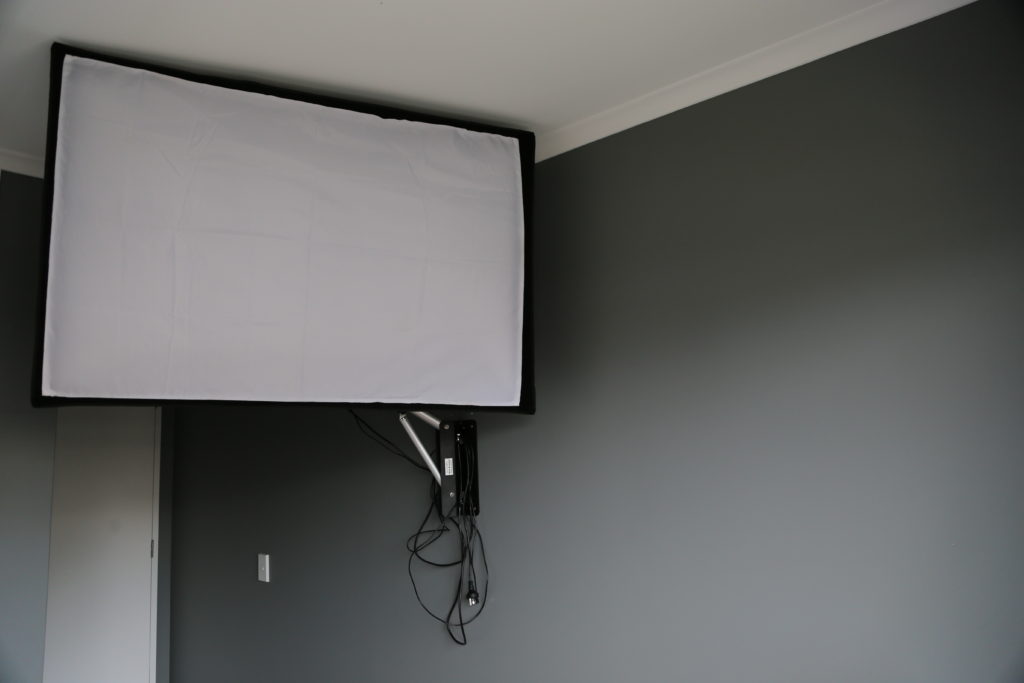
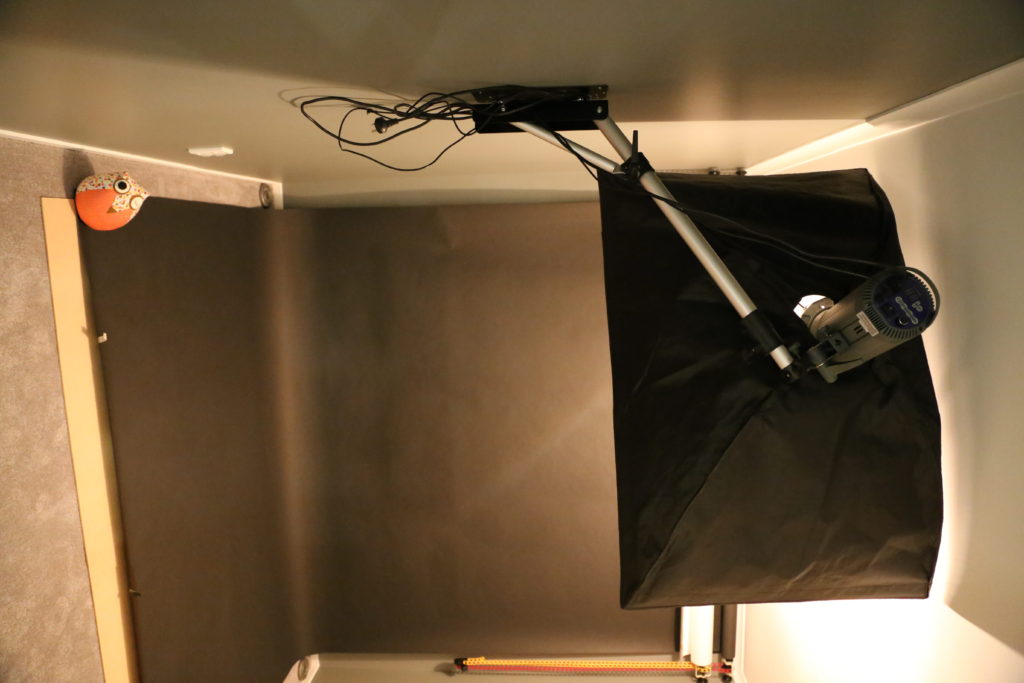
Look, no light stands! All that room below the softbox! Perfect for little (and big) models!
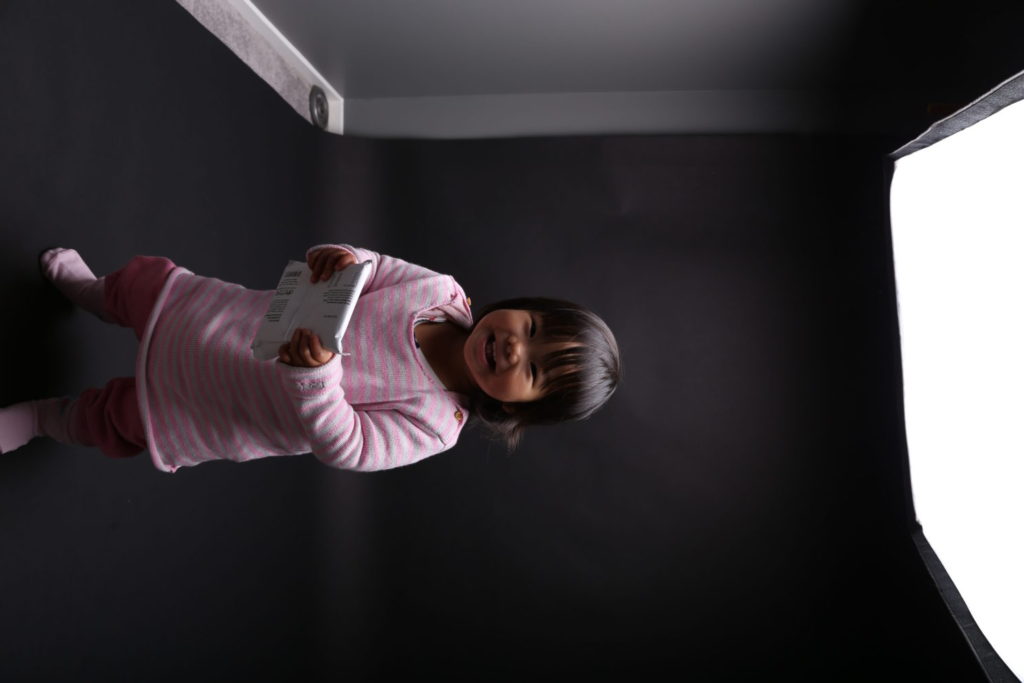
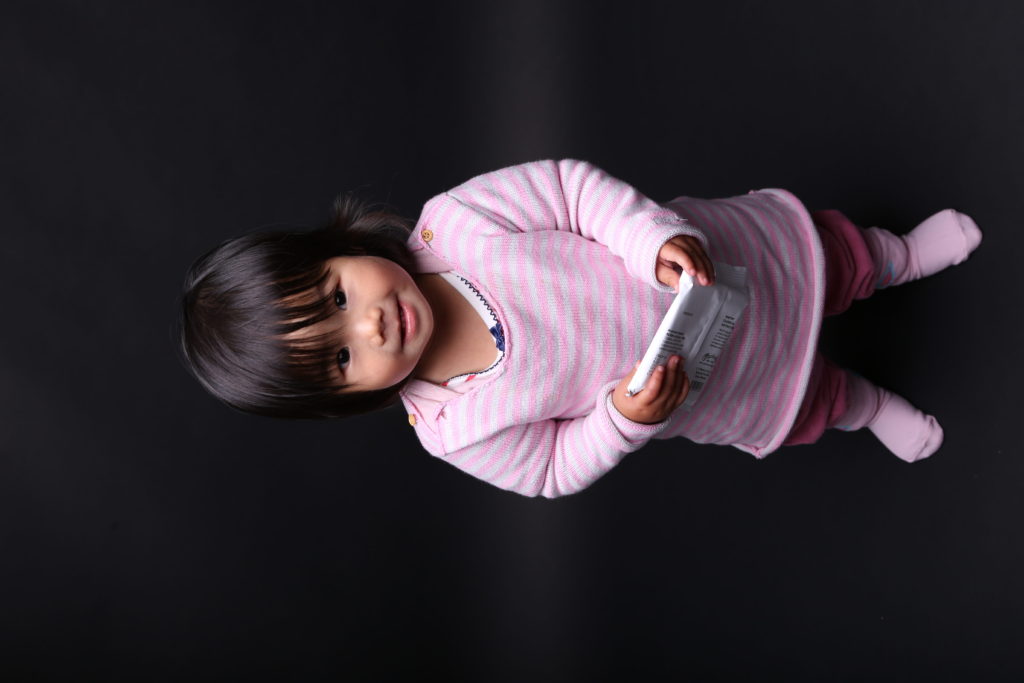
This is how much control you get from a well set up studio. I can’t wait to explore the possibilities! This space will give me the room to polish my understanding of lighting. I am looking forward to bringing people through my new studio. Click here to book a studio session with me.
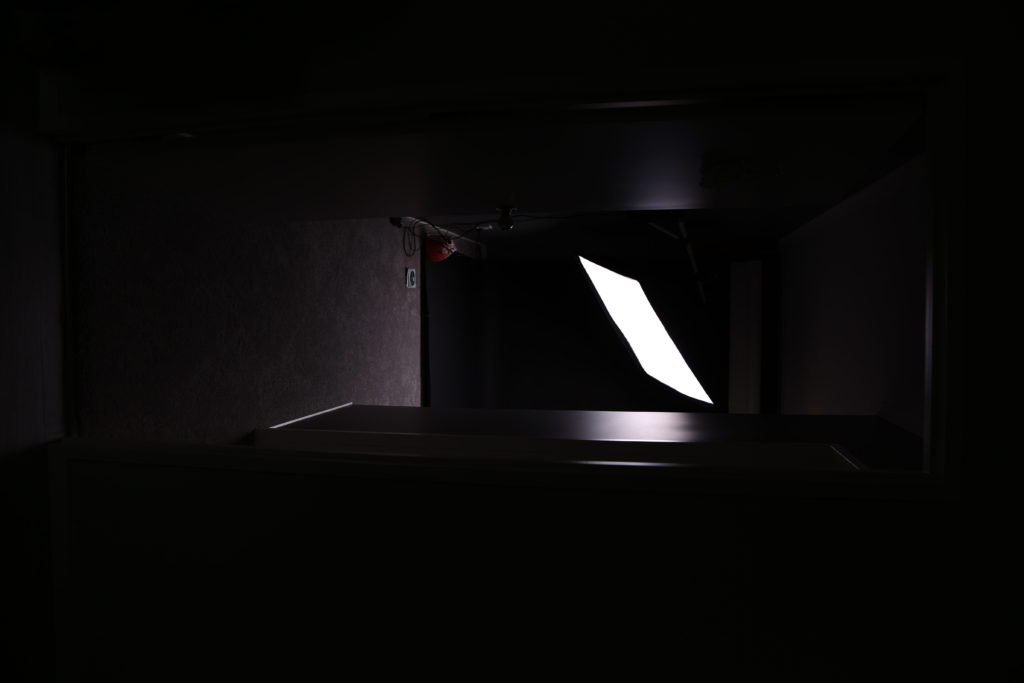
The true hero of the day is my little angel, Mikayla.
- Aperture: ƒ/4
- Camera: Canon EOS 6D
- Flash fired: no
- Focal length: 24mm
- ISO: 1000
- Shutter speed: 1/40s

