Facebook
 Google Plus
 Twitter
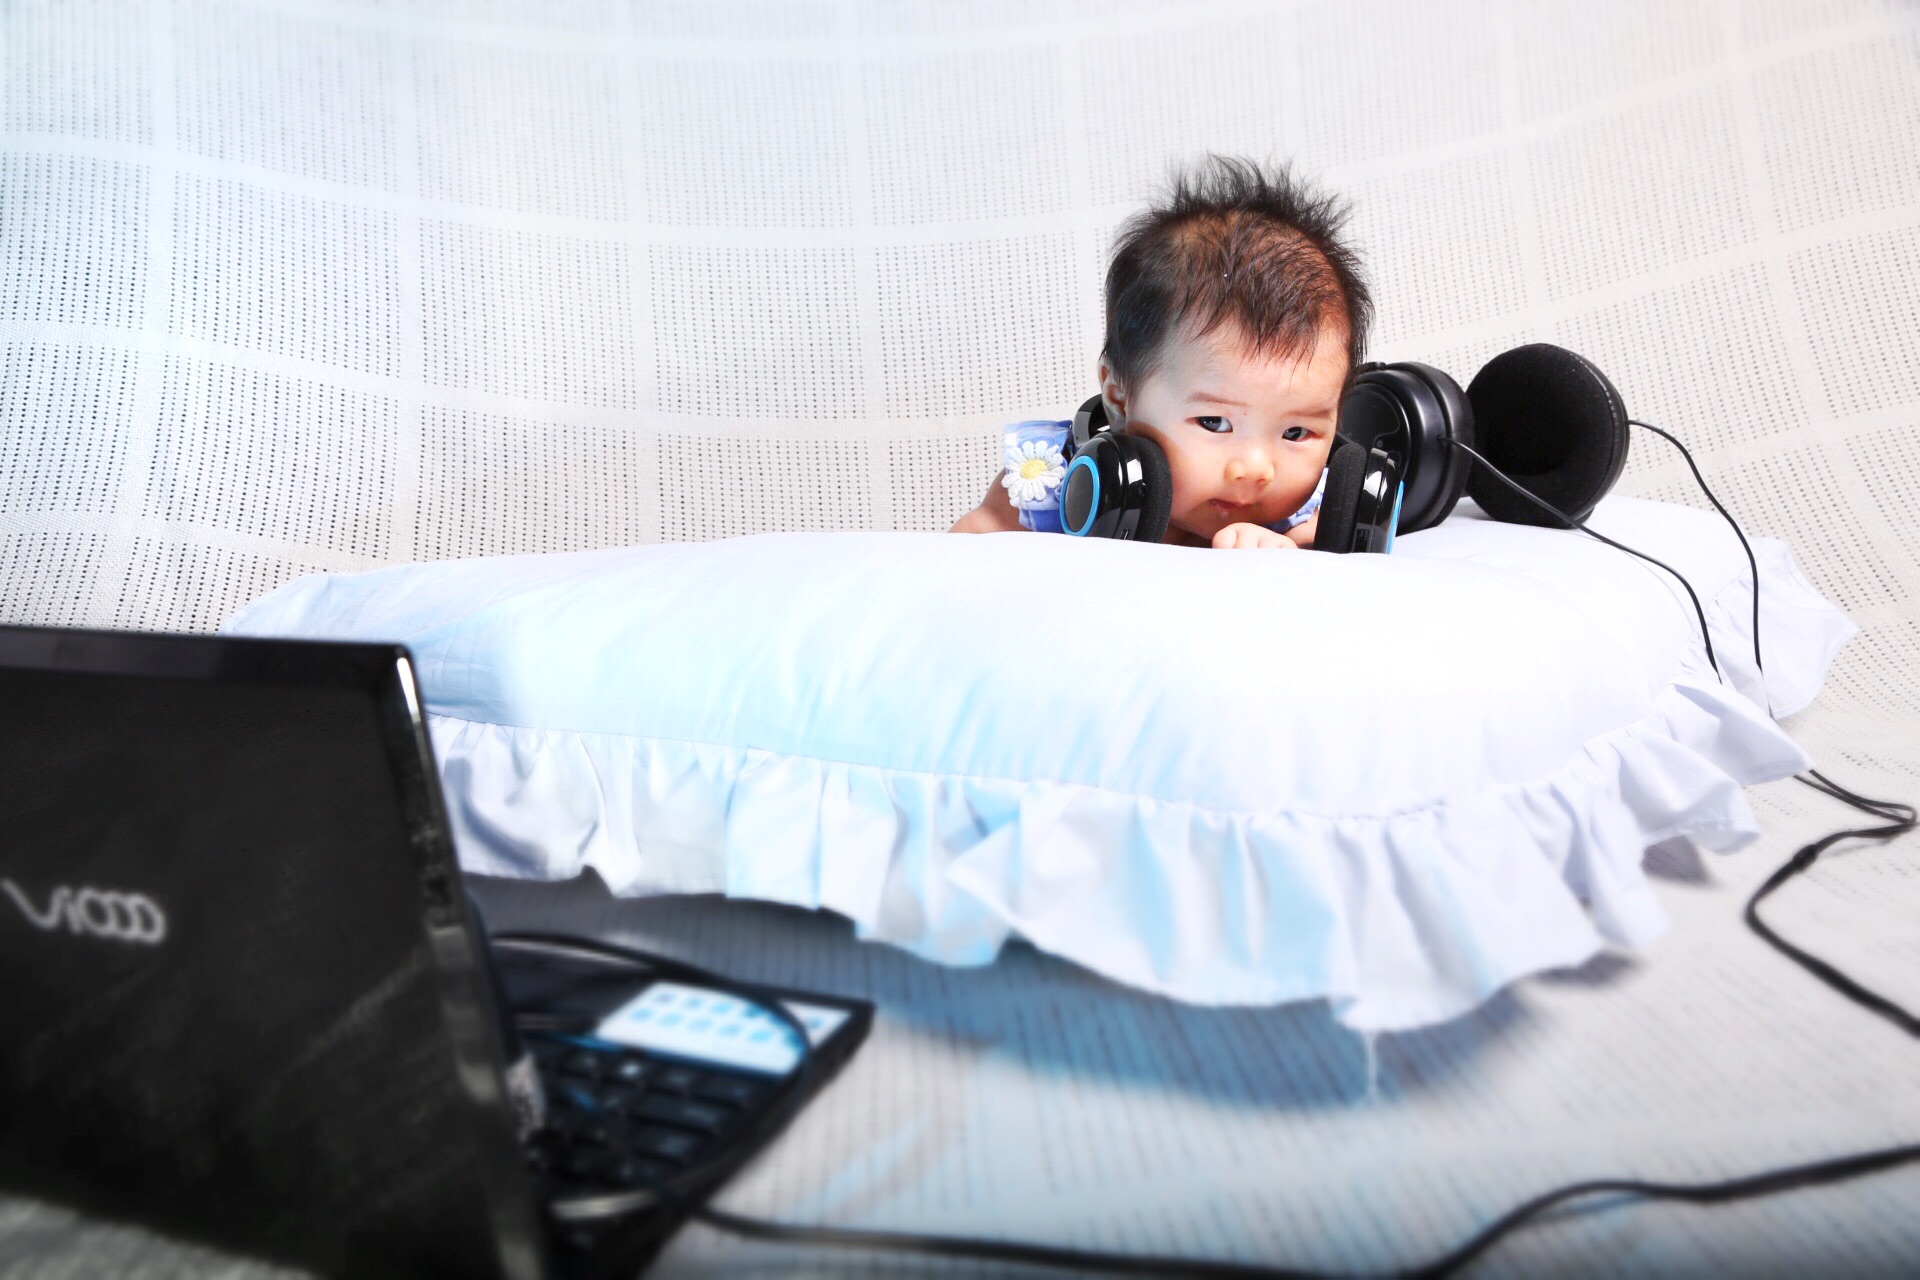 Creative
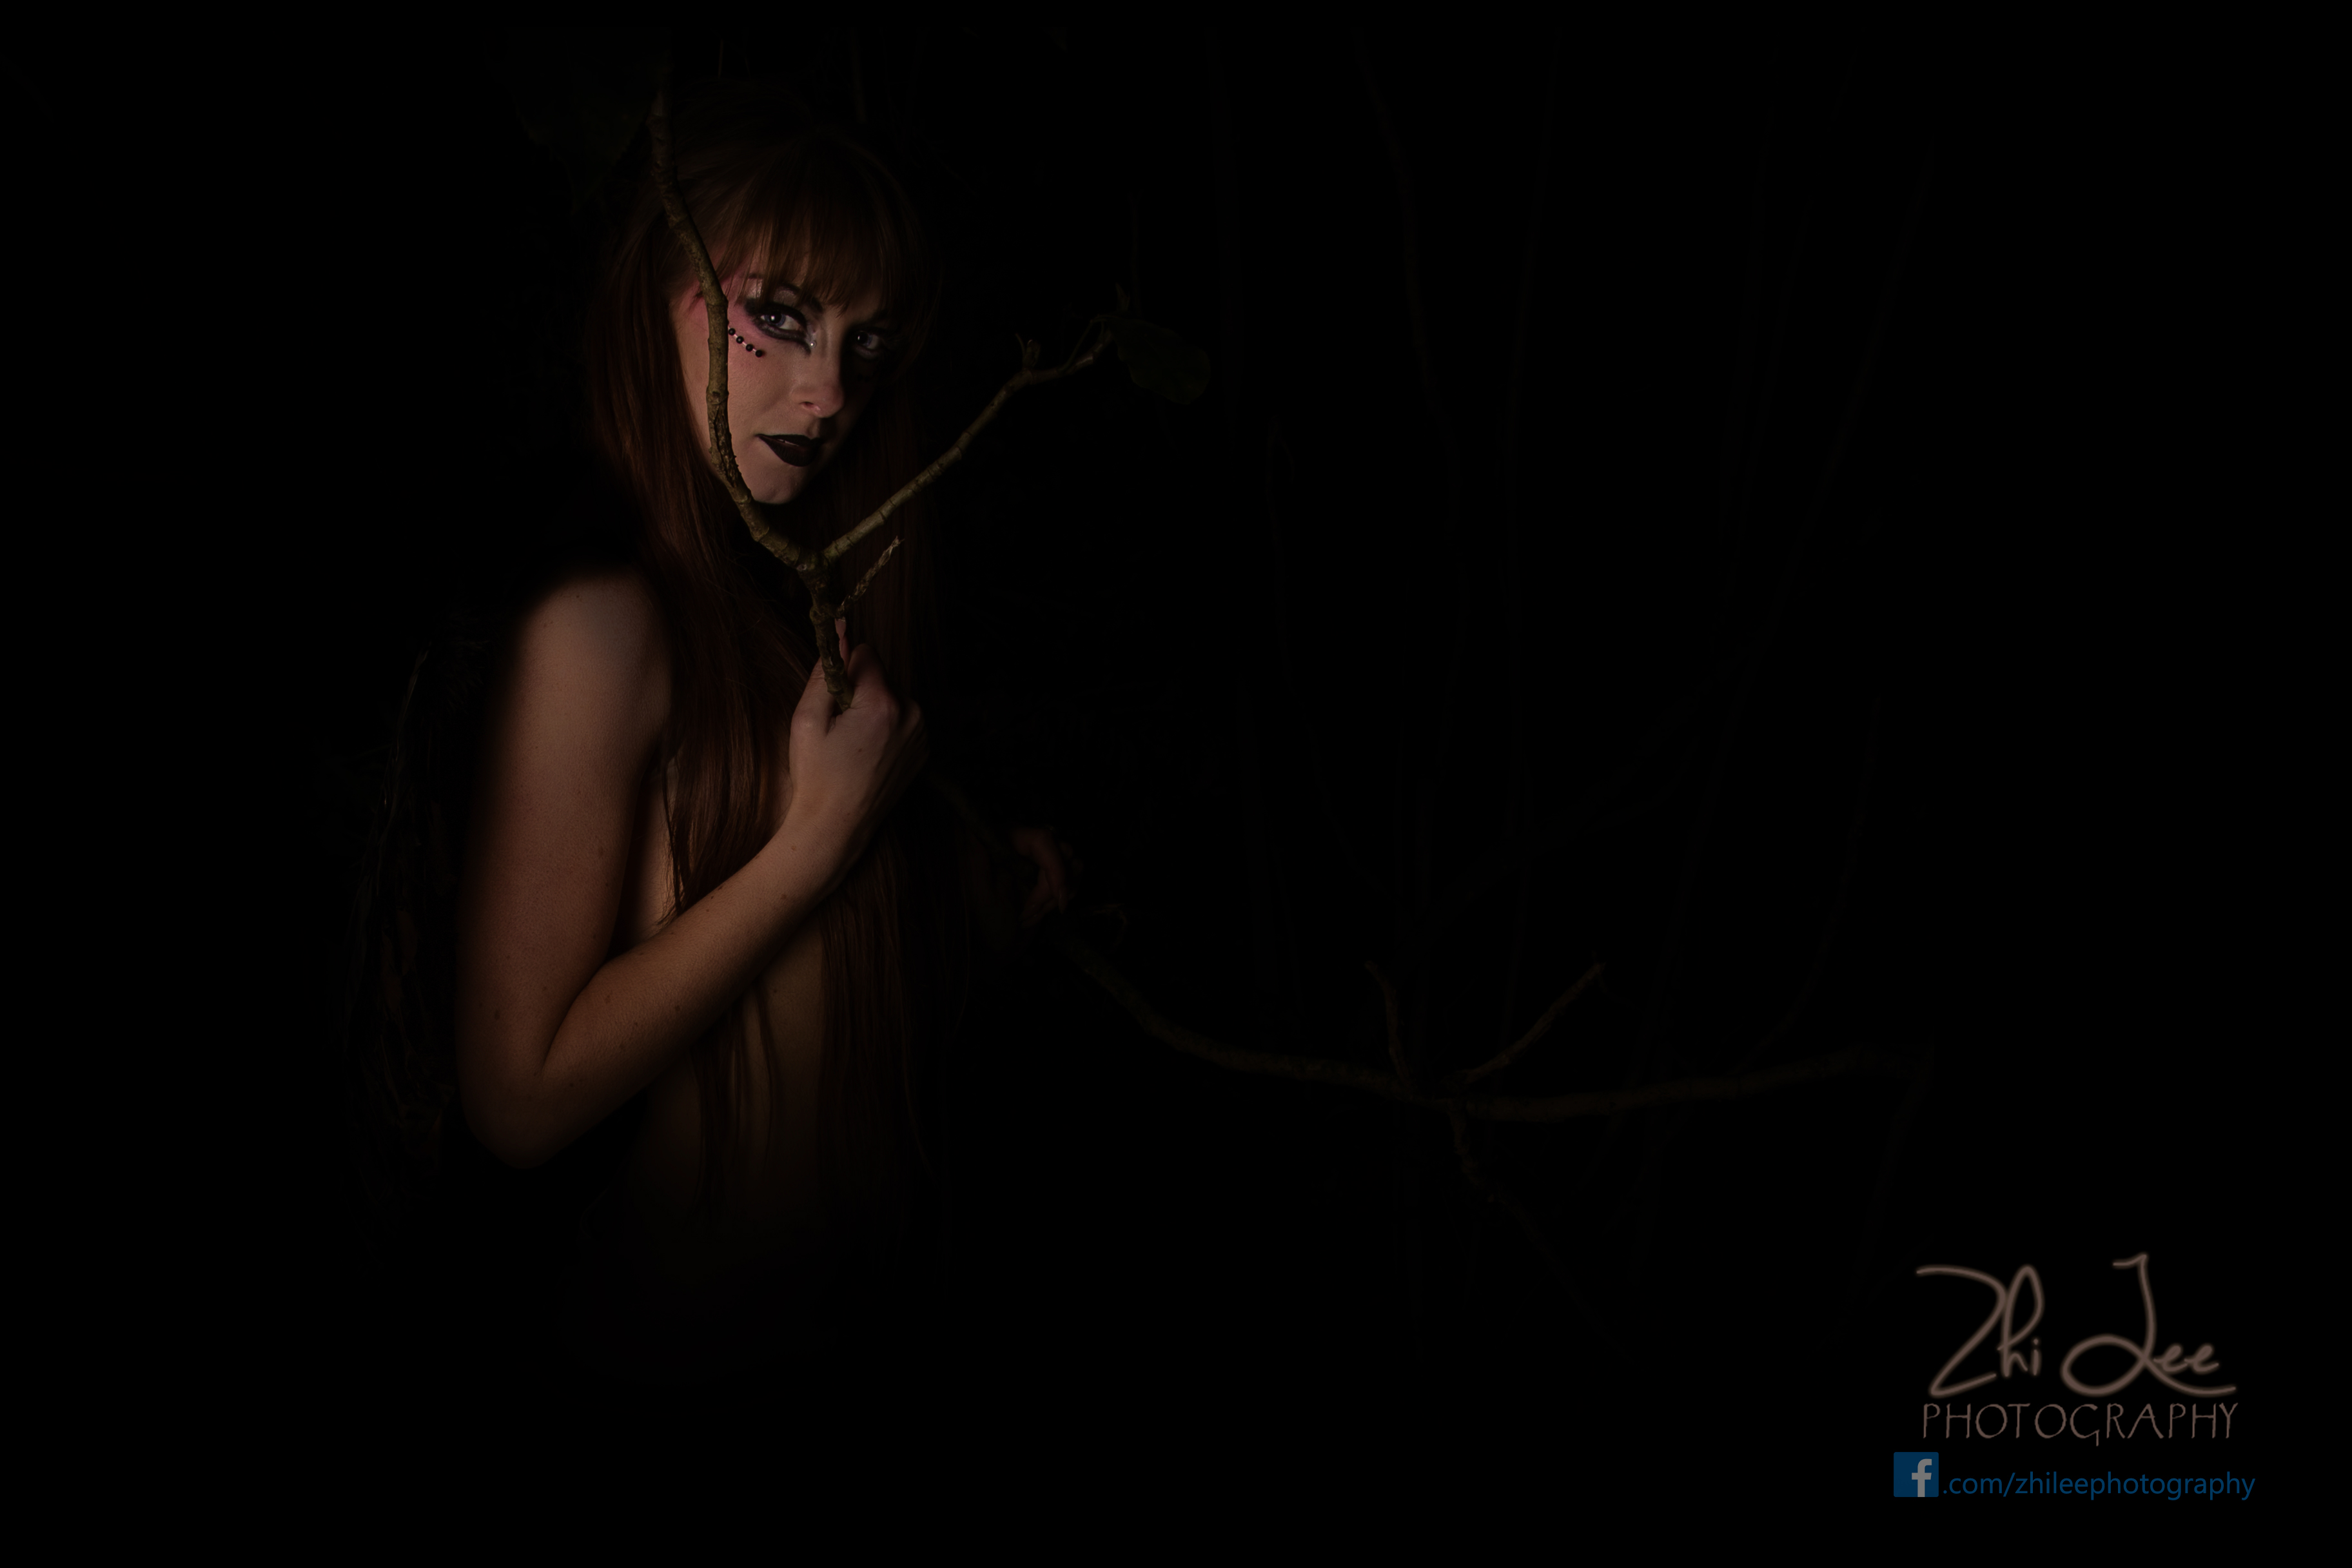
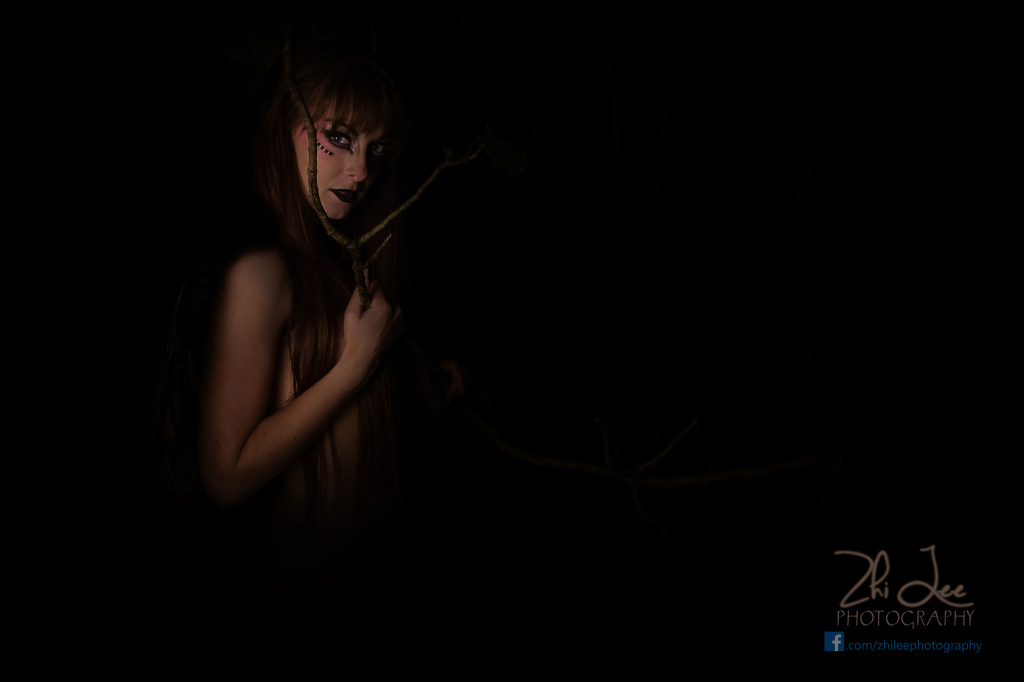
Creative Baby Photography As a Parent
Being a photographer dad has its bonuses. You get a cute little model to work with 24 hours a day, and baby gets her life documented with beautiful photographs.
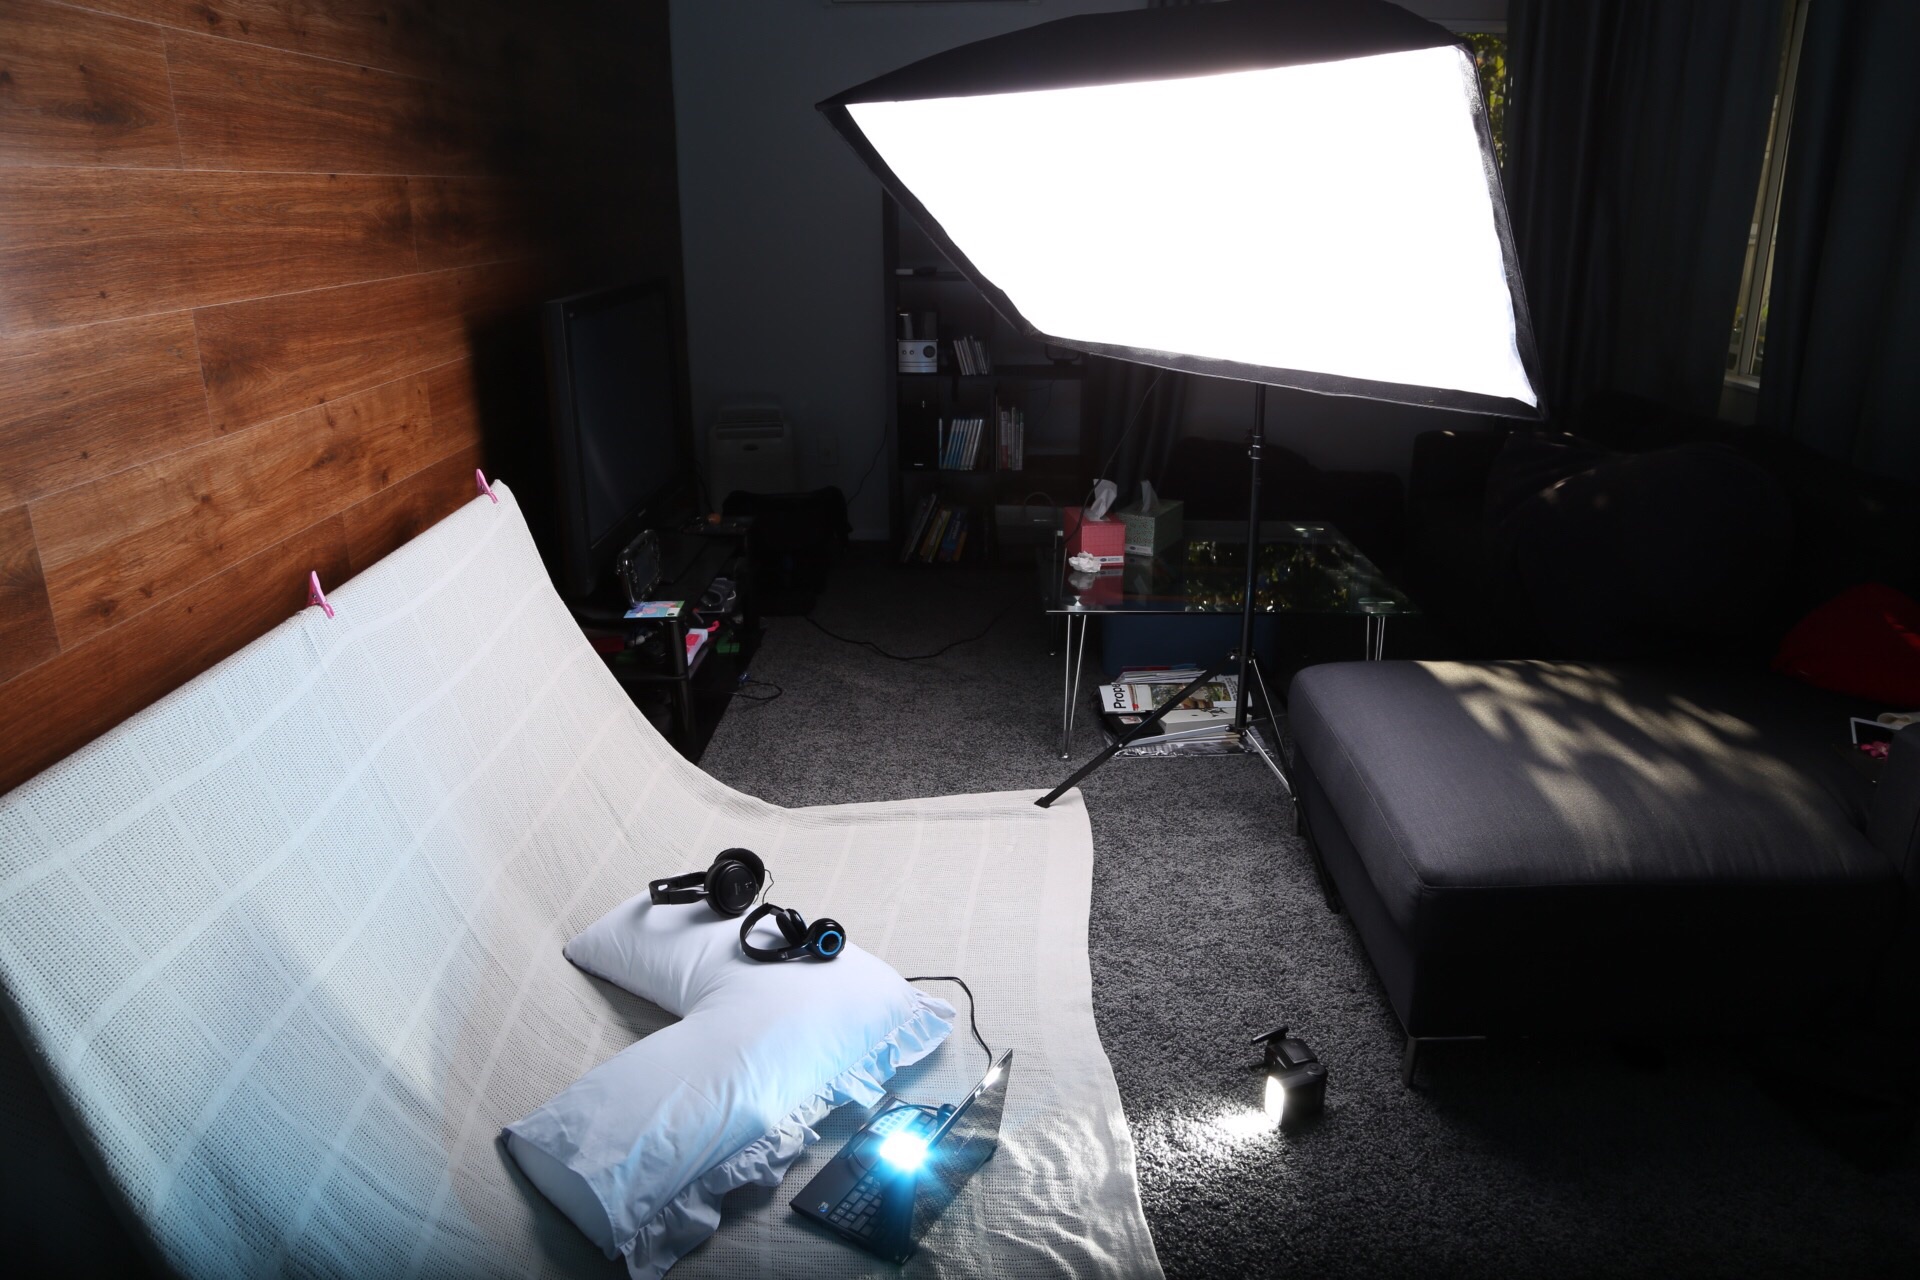
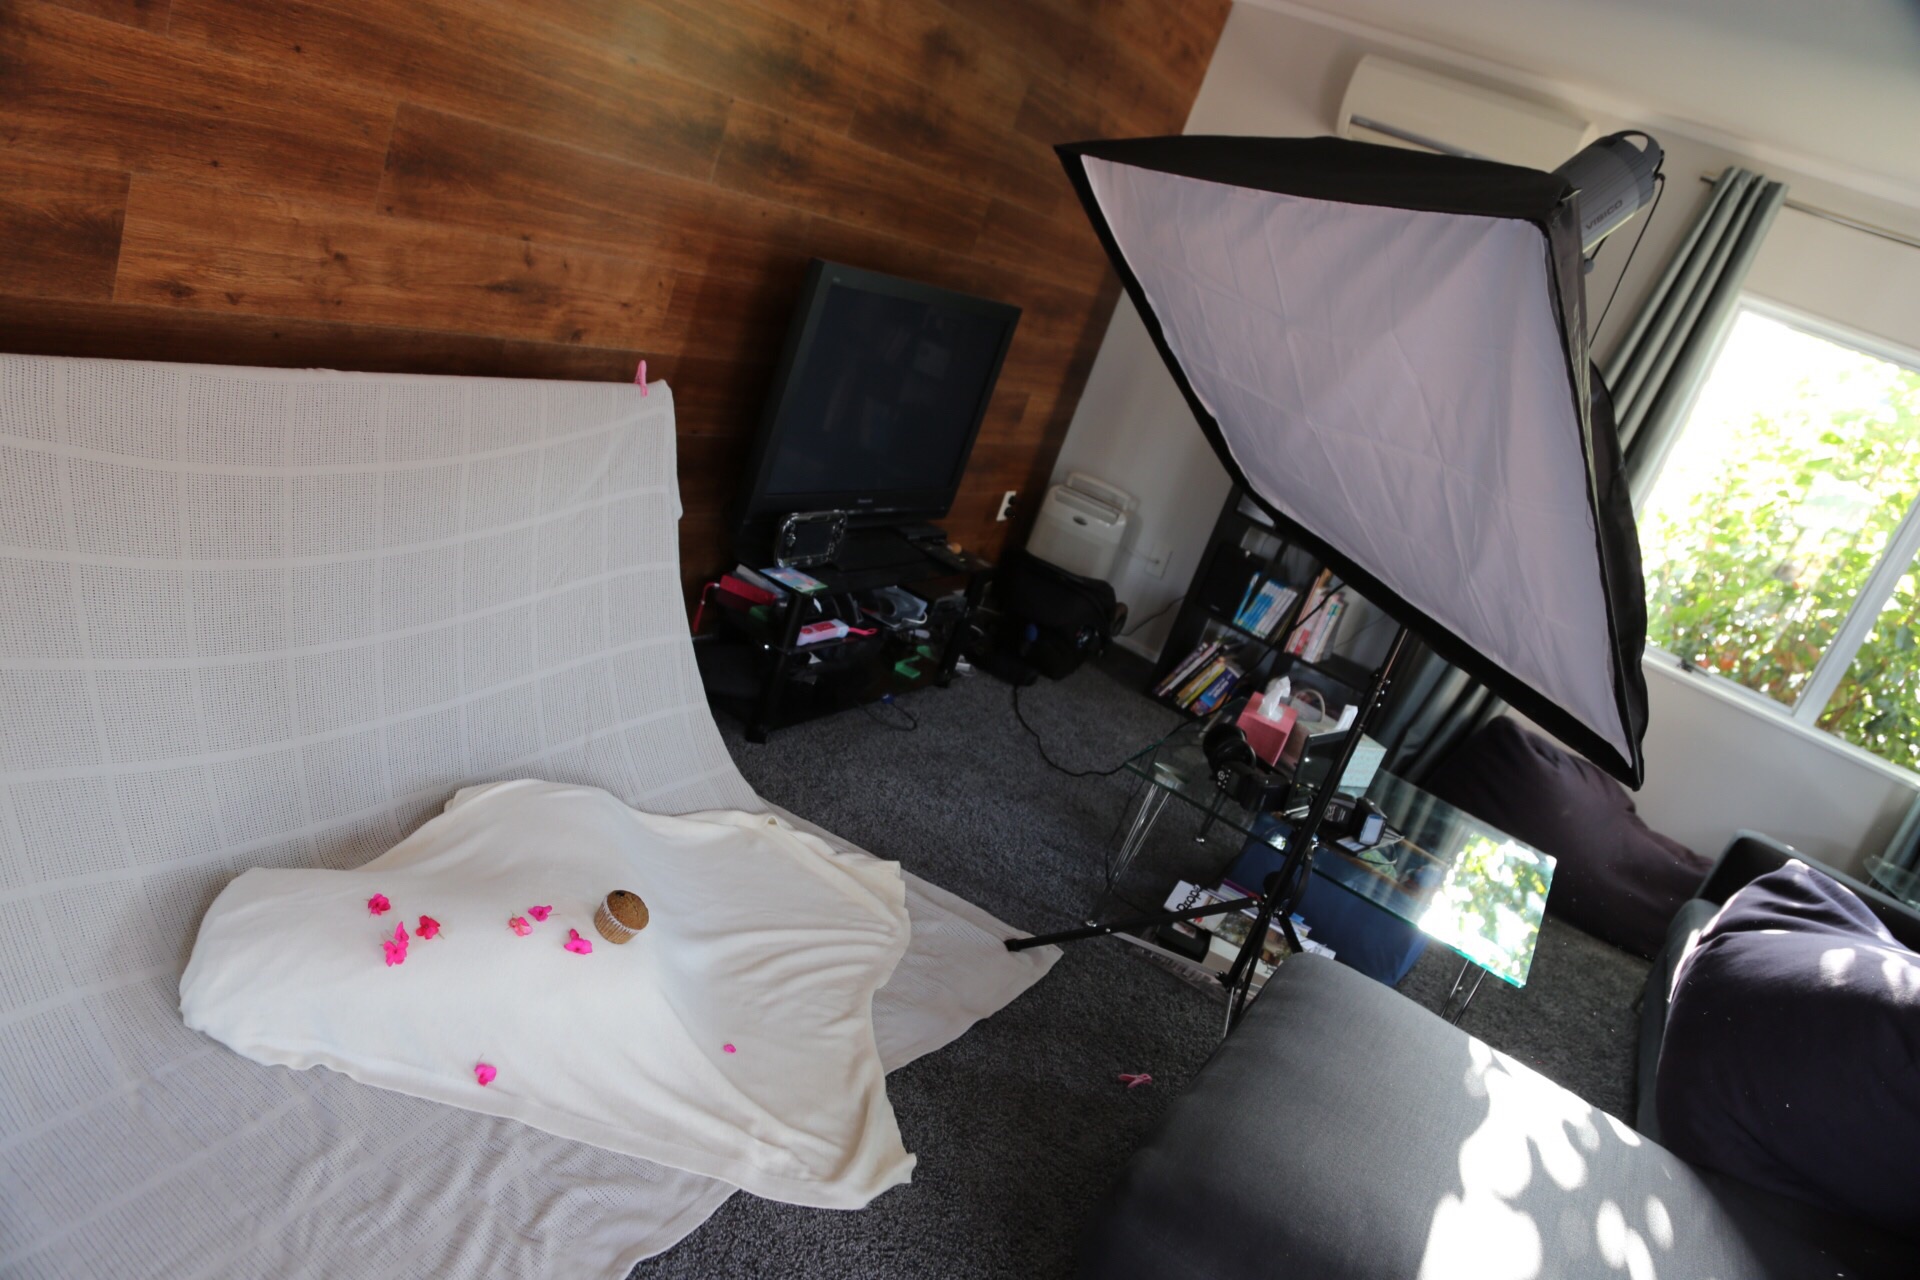
If there’s one thing I’d say to new parents… take as many photos as you can because you can’t turn back time! Mikayla is now 8 weeks and growing at a phenomenal rate. Just looking back, we wish we’d taken more photos in week 1! We make it a point to mark every week with a unique photo, and we make the time for it. Every Sunday is photo day. Here are a couple of images and their lighting setups.
Intro to Parent Photography
Here are a few points to note about photographing as a parent.
1. Be a mobile ninja. With the added responsibility of feeding your model, bathing her and changing nappies, try to be smart about your post-processing workflow. With the power of wireless transfers and mobile apps, my photos are downloaded directly into my iPhone using the Canon 6D’s in built wifi connectivity. I then edit using Google Snapseed on the phone. Even blogging’s done on the phone while bub sleeps in my lap.
2. Think outside the box. After doing a few shoots, I began to realise they were all “stock standard” … You know – plain background, high key lighting, boring plush toy props. Possibilities are endless around the house when it comes to props. Below we used a netbook, headphones and a tri-pillow (great for propping them up while feeding) to tell an interesting story. Some day Mikayla will be as geeky as her dad. She will love her technology toys and love great music.
3. Be patient. While it doesn’t take much to set up a shot, it can be a bit of a wait till bub is calm and settled. Never do a shoot with a grumpy baby. They don’t look good and you risk making them very unhappy.

Related Images: